Customers are the core and integral part of a business organization and that is why establishing a seamless interaction between the customers and the team is mandatory. Through various ways, the sales team of any business group connects their customers but the conventional way of sending customized emails is prioritized always. For such a robust reason, integration of the best CRM software with the business email is important.
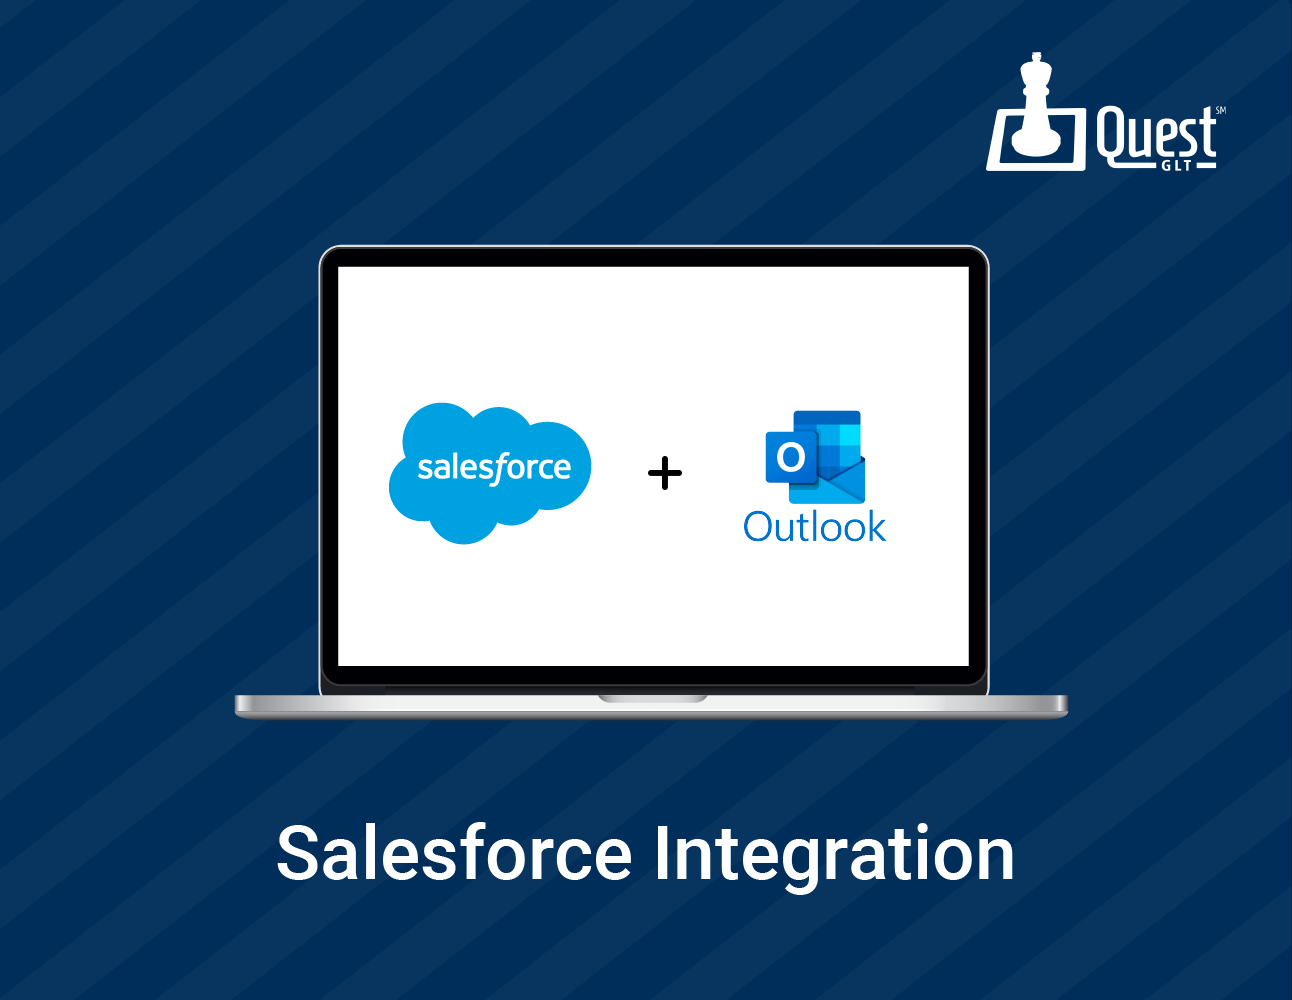
The sales teams focus on managing these conversations by adopting several valuable technological methods. But setting up the Salesforce with Outlook integration serves a range of features that a team can access easily.
What are the Major Benefits of Salesforce add-in to Outlook?
This integration helps both the sales teams as well as the customers in performing several tasks. A quick view on the advantages of adding Salesforce add-in to Outlook.
- A customer can easily access the information from Salesforce.
- It simplifies the process of logging into email conversations and events from Outlook to a Salesforce contact record.
- You can save the time of your employees as this integration enables them to Einstein Activity Capture. This feature helps in automating conversation logging from Outlook to Salesforce.
What are the steps to set up Salesforce to Outlook integration?
Now after knowing the unavoidable benefits of integrating Salesforce with Outlook, you must be aware of the right way of setting up Salesforce to Add-in Outlook.
But before that, you must know which elements of both sides (Salesforce and Outlook) are necessary for the integration. Both sides should be in an up-and-running mode.
Salesforce Side -
Sales Cloud, Service Cloud and Salesforce Lightening are appropriate for use in this integration. The integration will also support all the subscription levels for these products of Salesforce. Without having administrative access the team can not perform this Salesforce to Outlook integration. So your department's IT team must work on the modification of the user roles within Salesforce before setting up the information.
Outlook Side - Connecting Outlook to Salesforce
Though for the integration, several options are available for you like Outlook 2019, Office 365 running on Windows 10, Outlook 2013, Outlook 2016 etc, integrating Salesforce with Outlook web clients will be best for you. It allows access to cookies from Salesforce in your browser.
The team should also manage the email of the company by using the Microsoft Exchange email server as this integration support Exchange Online with several Outlook types.
Steps of setting up Salesforce with Outlook -
A structured way of enabling the integration of Salesforce with Outlook requires the information of the below-given steps.
Step 1- Connect Outlook and Salesforce by enabling the integration
The very first step to initiate this integration is, connecting Salesforce to Outlook.
- Now on the Salesforce side go to the setup menu and search for the option showing the Outlook feature.
- Here you can click on Outlook Integration and then select Lightning Sync.
- Toggle on the Outlook integration slider.
Step 2 - Configuration of your Outlook domains
If the Outlook environment is running on any of Outlook.com, Office.com or Office 365.com, Salesforce will allow Outlook to integrate. While on the other hand if the Outlook environment is running on your domain such as email.mycompany.com, whitelisting that domain within Salesforce is necessary before the integration.
- Now you can scroll down the Outlook integration and Lightning Sync till finding the option Microsoft Outlook Web App Domain.
- For adding the new domain, click on the option New.
- You can enter your domain in the specific format of " https://email.mycompany.com."
Step 3- Adding your Salesforce application to the Outlook
In this third step, you can shift to the Outlook side where you need to download or install the Salesforce app from Microsoft Appsource. After installing the app you should,
- Open a new email message and reach the action menu by clicking on the three dots.
- Click on the Get Add-in option, it will lead you to the opening of the Microsoft Appsource marketplace.
- Find the Salesforce app here.
- Click on the install option and then add it to the Outlook environment.
The Salesforce app is completely free and you need to choose that option which is simply showing Salesforce.
Step 4 - Time to log into Salesforce but through Outlook
On the previously opened email, you will see a menu where you need to,
- Click on the Salesforce app panel and go to the log-in option. Before that select the production.
- Click on allow to open login window and you are ready to fill in your login credentials.
- A confirmation message will pop up asking your permission to share data between Salesforce and Outlook. You can click on Allow to integrate both sides.
Step 5 - Open and Use the Salesforce app on the Outlook
Now accessing all the Salesforce contacts, events, tasks, previous data or history within the Outlook panel is quite easy for you. With the help of Salesforce Chatter, you can collect the previous history of any customer based on the chat and compose a new email for taking the sales services one notch higher.
Step 6- Activate Enhanced Email Feature
To automatically log into the email you need to activate the Enhanced Email feature of this integration. For such advanced services, you should follow the below-given steps.
- Reach the setting page of Outlook integration and Lightning sync on Salesforce.
- Click on Log Email messages to Salesforce.
- Now select Activate>Notify> Edit check >Active Box > Save.
- Now turn on the Enhanced Email on the Salesforce integrated with Outlook.
Step 7- Customization of the Salesforce panel on Outlook
The best thing about this salesforce Integration is customizing the Salesforce on the Outlook panel according to the type of your business or workflow. On the same setting page of Outlook integration and Lightning sync, you can find the option titled Customized Content.
This integration infuses the capability of making maximum utilization of Salesforce in your Sales team with the help of emails, leads and the wide reach among the customers.
Read Also :- Salesforce Implementation Services
FAQ
1. How do I add Salesforce to Outlook online?
Quest GLT makes it easy to add Salesforce to Outlook online. All you need to do is log into your Salesforce account, go to Setup, type Outlook in the Fast Find Box, select Outlook Integration and Lightning Sync from the menu, and then click on the Outlook Integration and Lightning Sync buttons to enable it. With this quick and simple process, you can start connecting with your contacts and adding data to Outlook with ease.
2. How do I enable Outlook in Salesforce?
The easiest way to enable Outlook in Salesforce is by using Quest GLT. To get started, go to your Salesforce and log in. Select Setup from the drop-down menu, then type Outlook into the Fast Find Box. Next, select Outlook Integration and Lightning Sync, and click on the buttons to enable it. With Quest GLT, you can quickly and easily enable Outlook in your Salesforce account.